You can add tables into your instructions in Cadmus or ask students to include them within submissions. Students will have access to the same formatting options for tables as teachers.
This article covers how to:
Insert a table
With Cadmus, you can add tables into the body of your instructions.
To insert a table
-
Click the
 table icon in the formatting toolbar.
 -
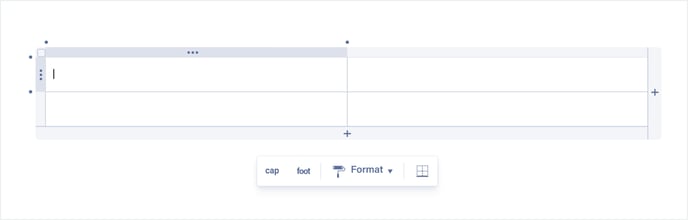
A 2 x 2 table will be inserted into the writing space for you to build upon.
Add, remove, or resize rows and columns
You can customise your table to the number of rows or columns you need, and then resize the columns accordingly.
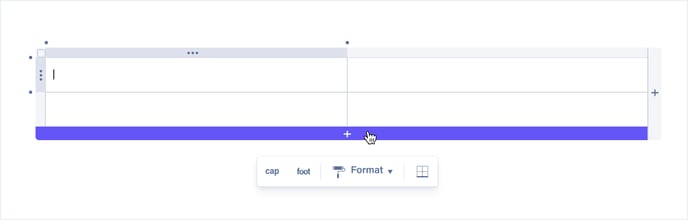
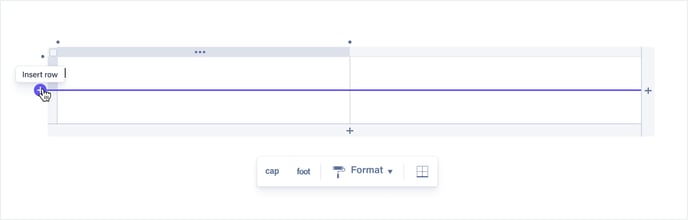
To add a row or column
-
At the end of the table: Click the + button on the bottom or right-hand side of the table.
-
In the middle of the table: Hover over the dot between the two rows or columns, and click the + button.
To remove a row or column
-
Hover over the left of a row, or the top of a column, and click to select.
-
Click the
 delete icon in the Table menu.
To resize a column
-
Hover over the column line you would like to resize.
-
Click and drag to your desired size.
Add a table caption or footer
You can easily add a caption or title to the table, or add extra notes and references using a table footer.
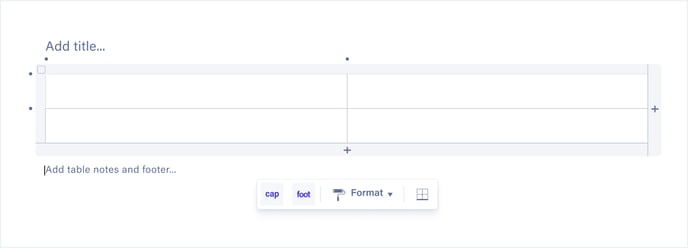
To add or remove a table caption
-
Click on the table.
-
Click cap in the table menu to toggle the table caption on and off.
To add or remove a table footer
-
Click on the table.
-
Click foot in the table menu to toggle the footer on and off.
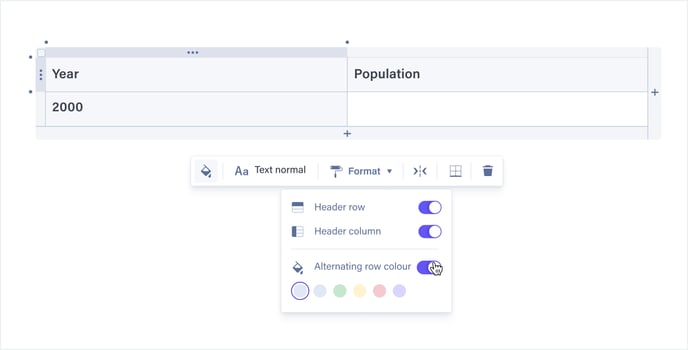
Format tables
You can use the usual Cadmus text styles and formatting options within tables, like bold, italics, lists, text colours and text highlights. You can also colour entire cells in the table to emphasise key information or use borders to style your table.
To colour the first row or column of a table
-
Click on the table to show the table menu.
-
Click Format.
-
Toggle on Header Row or Header Column to highlight.
To colour alternating rows
-
Click on the table to show the table menu.
-
Click Format.
-
Toggle on Alternating Row Colour.
-
Select a colour.
To colour individual cells
-
Highlight the cells you would like to colour.
-
From the table menu, click the
 colour icon.
 -
Select a colour.
TIP! To select multiple cells, click and drag or hold Shift while using the arrow keys.
To add borders to a table
-
Highlight the cells you would like to add a border to.
-
From the table menu, click the
 border icon.
 -
Select the borders you would like to add or remove.
Merge and split cells
You can structure your table by merging cells together or splitting them apart.
To merge cells
-
Click and drag to highlight the cells you would like to merge.
-
From the table menu, click the
 merge icon.
To split cells
-
Highlight the cell you would like to split.
-
From the table menu, click the
 split icon.