In this article:
Marking groups that already exist in Blackboard Learn or Blackboard Ultra can be imported directly into Cadmus, so there's no need to set them up again.
Marking groups can also be built from custom .csv files, which can be compressed into a .zip file if preferred. For that approach, see the separate guide on Uploading Marking Groups from a Spreadsheet.
The rest of this article walks through exporting marking groups from Blackboard Learn or Ultra and importing them into Cadmus.
Export Marking Groups from Blackboard Learn
Blackboard Learn supports different types of groups, such as custom, randomly assigned, and self-enrolment groups, which are commonly used for group work, marking allocation, or content release.
To export groups from Blackboard Learn:
- Navigate to the Groups page in Blackboard
- Click Export
- In the export options, select:
- Groups
- Group Members
- Include Header Row
- Click Submit
- An email will be sent to your university address. Open the email and download the .zip file
- With the .zip file downloaded, you're ready to bring your groups in. Head to Importing groups into Cadmus, or watch the below video for the full walkthrough.
This video walks through the full Blackboard Learn process: exporting groups (in the steps above) and importing them into Cadmus (covered in Importing groups into Cadmus below).
Create Marking Groups in Blackboard Ultra
If marking groups have not yet been created, they can be set up directly in Blackboard Ultra before being imported into Cadmus. Blackboard allows flexible group creation, where students can be manually assigned into custom groups to support marking, group work, or cohort management.
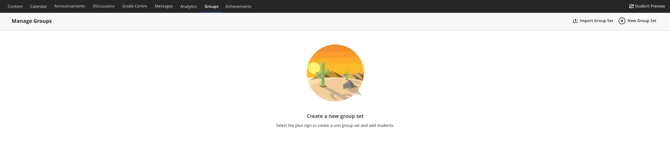
Create a new group set
- Navigate to the Groups tab in your Blackboard course
- Click New Group Set in the top right corner
- Enter a name for the group set
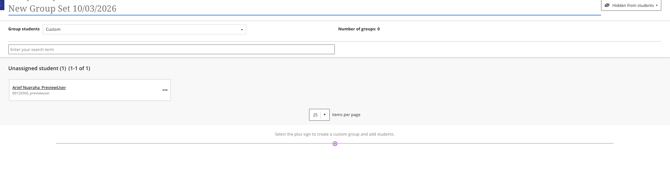
- Select the group type (such as Custom)
- Locate students under Unassigned students using the search bar if needed
- Select one or more students
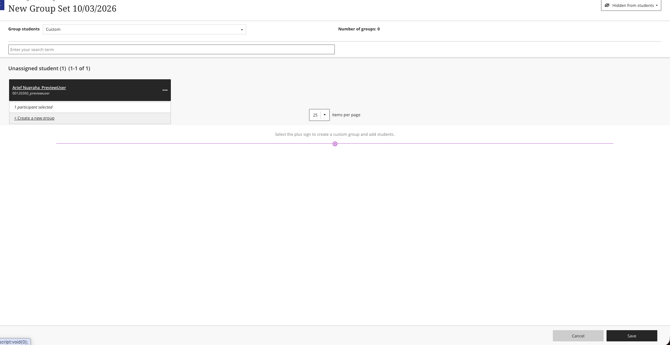
- Click + Create a new group to assign selected students into a group
- Repeat as needed to create additional groups and assign students

- Click Save to finalise the group set
Once saved, the group set will appear in the Manage Groups page, where it can be reviewed or updated.
Export Marking Groups from Blackboard Ultra
Once the group set has been created, it can be exported and used for import into Cadmus.
- Locate the group set in the Manage Groups page

- Click the three-dot menu on the right
- Select Export
- In the export panel, choose:
- Group sets only
- Members only, or
- Both, which is the recommended choice in most cases, since Cadmus needs both files. A single file is only enough if the other one is already available from elsewhere.
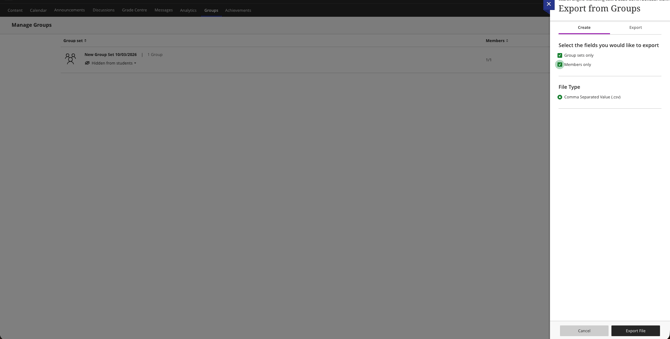
- Select .csv as the file type
- Click Export File
The export will be processed, and the file(s) will be available for download once ready. Once the files are ready, head to Import Marking Groups into Cadmus to bring the groups in.
Before importing into Cadmus, it's recommended to compress the .csv files into a .zip file. On most computers this can be done by right-clicking the file and choosing Compress (Mac) or Send to → Compressed (zipped) folder (Windows).

Import Marking Groups into Cadmus
- In the Marking section of the Instructions page, click Set Up.

- Click Import Groups from File.
- Click Import a .csv or .zip file,
- Depending on the LMS, choose either.
- Blackboard Learn: the exported .zip file.
- Blackboard Ultra: the two .csv files (Group sets and Members), or a single .zip file if they were compressed together (recommended).
- Select which groups to import.
- Click Import groups.