Extended Response questions can now be graded using the Cadmus Marker for Multi-format assessments.
This article covers how to:
- Select Cadmus Marker as a Grading Tool
- Mark and give feedback using Cadmus Marker
- Adding detailed feedback for Extended Response answers using Cadmus Marker
Select Cadmus Marker as a Grading Tool
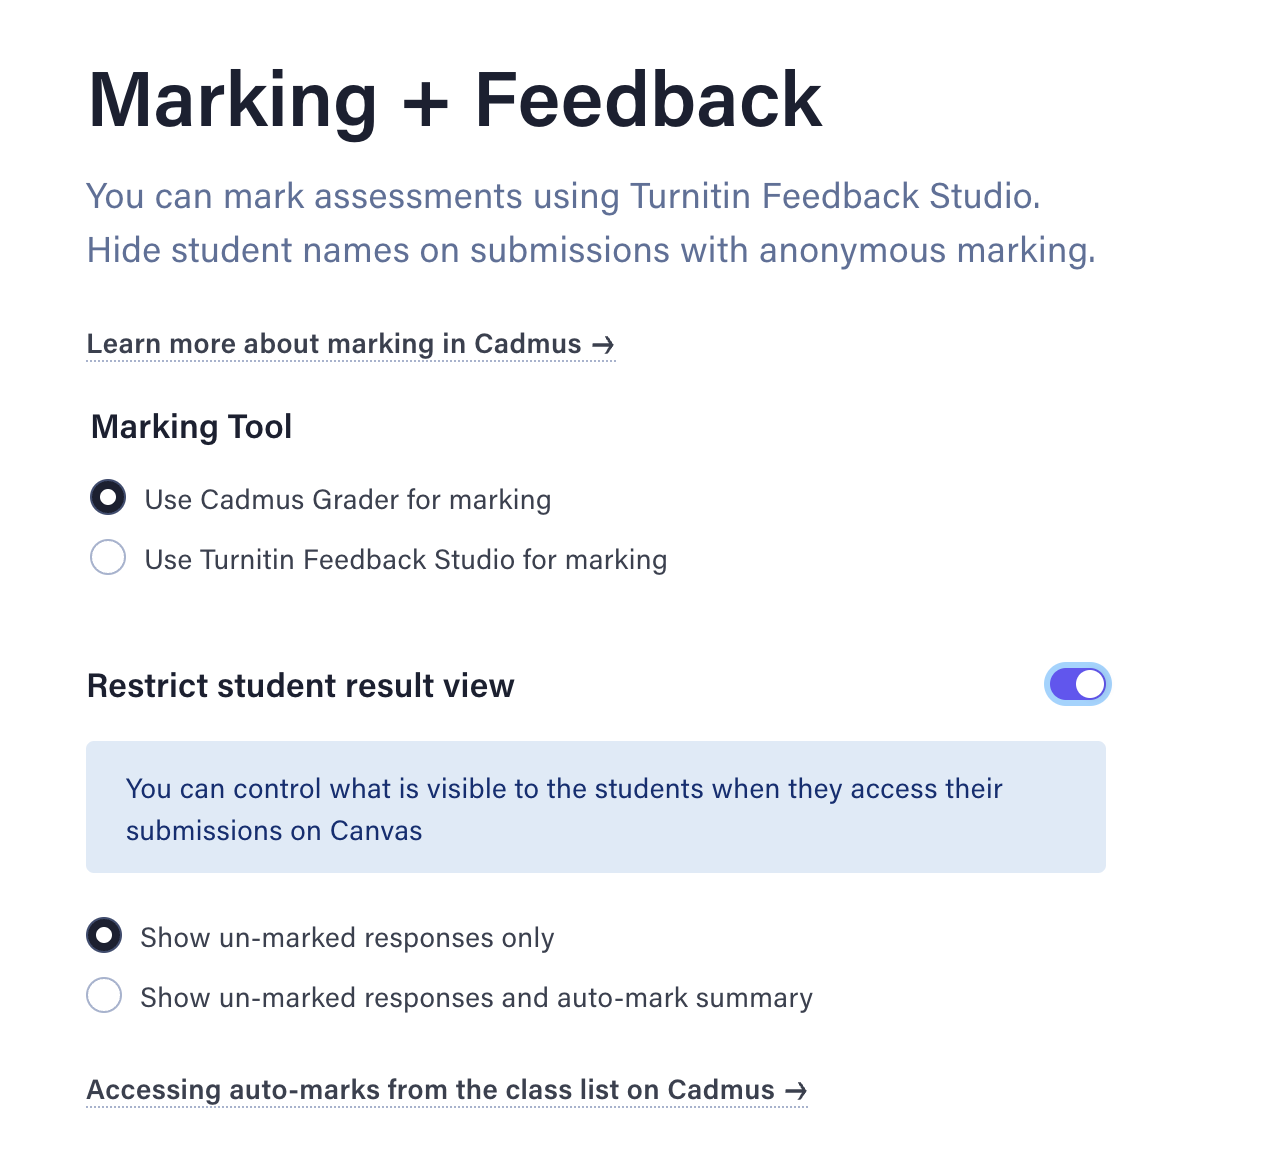
- While adding the requirements and settings for the exam, select the ‘Use Cadmus Marker for marking’ option under the Marking + Feedback section.
- The Restrict Student Result View option allows you to control what students view when they access their submissions on Canvas. Keeping this setting OFF would allow students to access their submissions with auto-marked grades through Canvas. We recommend keeping this ON before releasing the exam.
Marking and feedback using Cadmus Marker
- Once the submissions are in, navigate to the Marking tab and select the Mark button beside the submission you wish to grade.
- This will take you to Cadmus Marker. Use the dropdown at the top to sort the submissions into groups for easier grading, view submissions of individual students and view entire marking groups that might have been created previously. Click on the left and right arrows to switch between student’s submissions. Click the Next Student button to go to the next student’s submission.
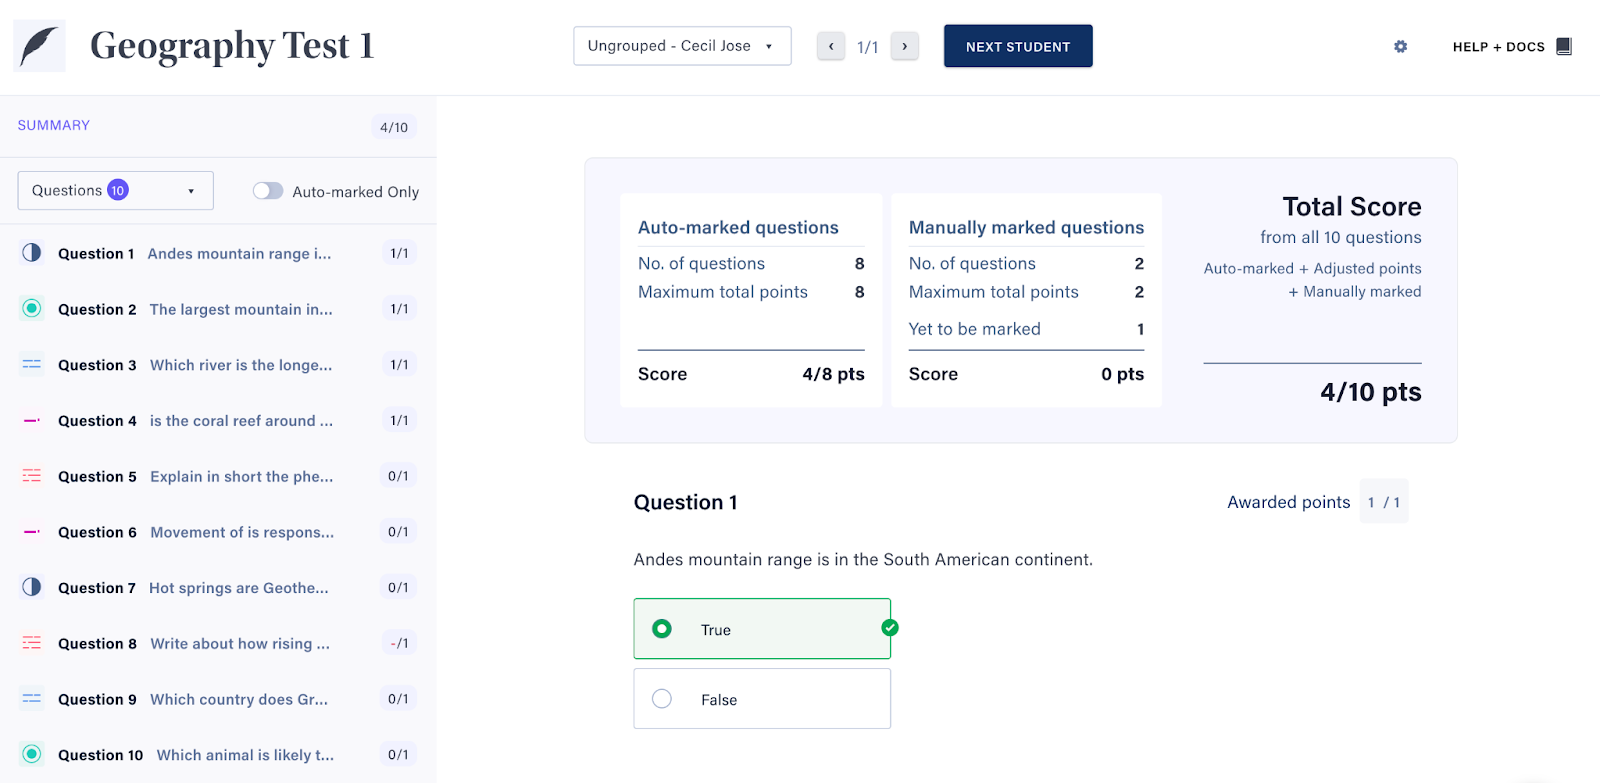
- At the top, a summary will display a breakdown of both auto-marked and manually-marked questions, along with the total score. True/False, Fill in the blanks, Multiple Choice questions, and Short Answer type questions will be auto-marked.
- The left-hand side panel displays an ordered list of all questions. Selecting any question number will bring up a detailed view of that question on the right. Additionally, you can use the toggle to filter and view only auto-marked questions.
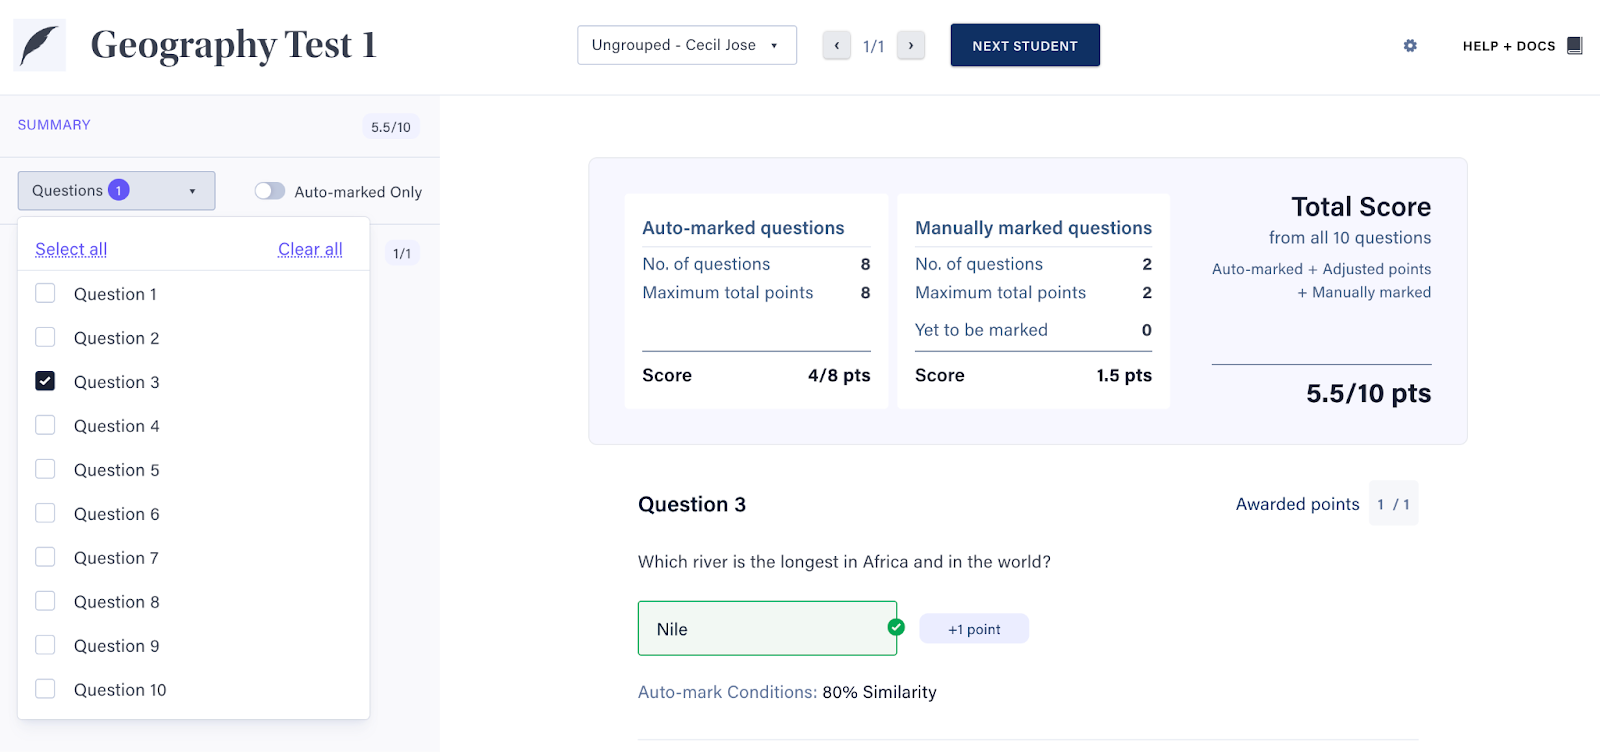
NOTE: Teachers can also filter and select any particular question or multiple questions to mark across several students.
NOTE: To adjust Marks, simply click on the edit button to the right of the awarded points.

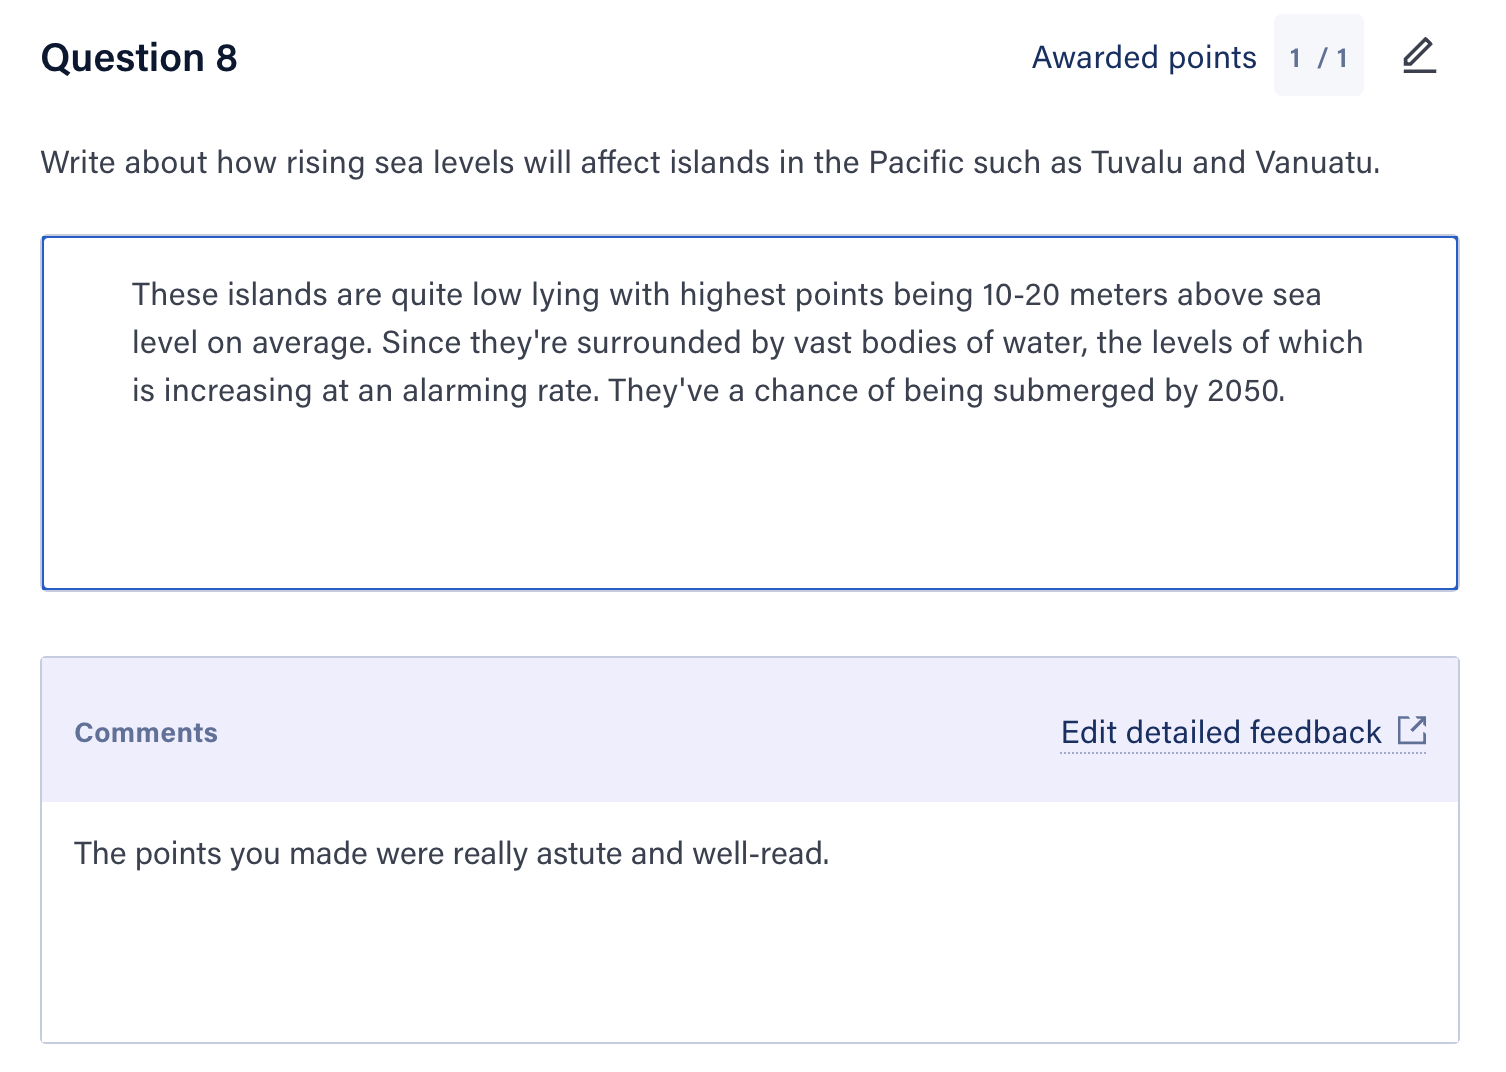
6. Once marks are confirmed, the Comments section will open, allowing you to add initial feedback. For more detailed feedback, click the Edit detailed feedback button to open the Feedback section.
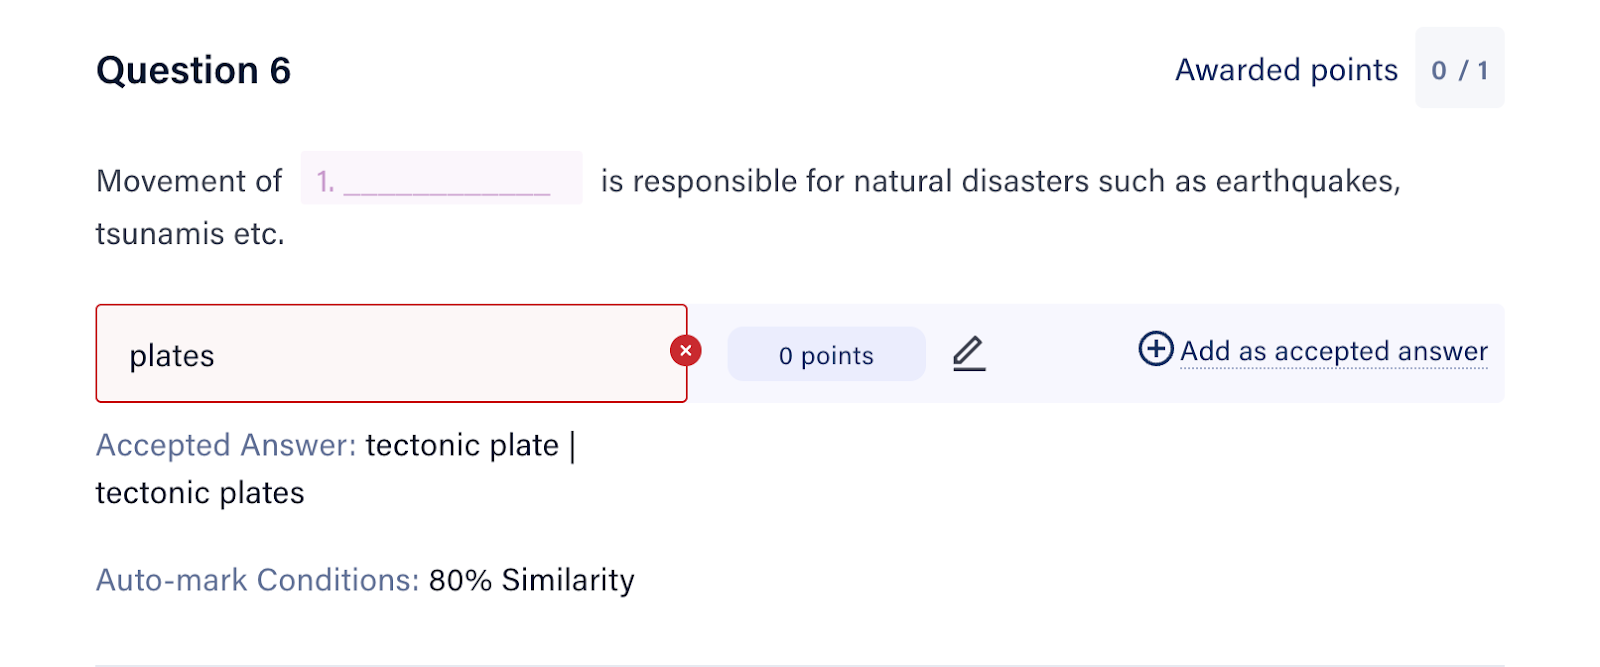
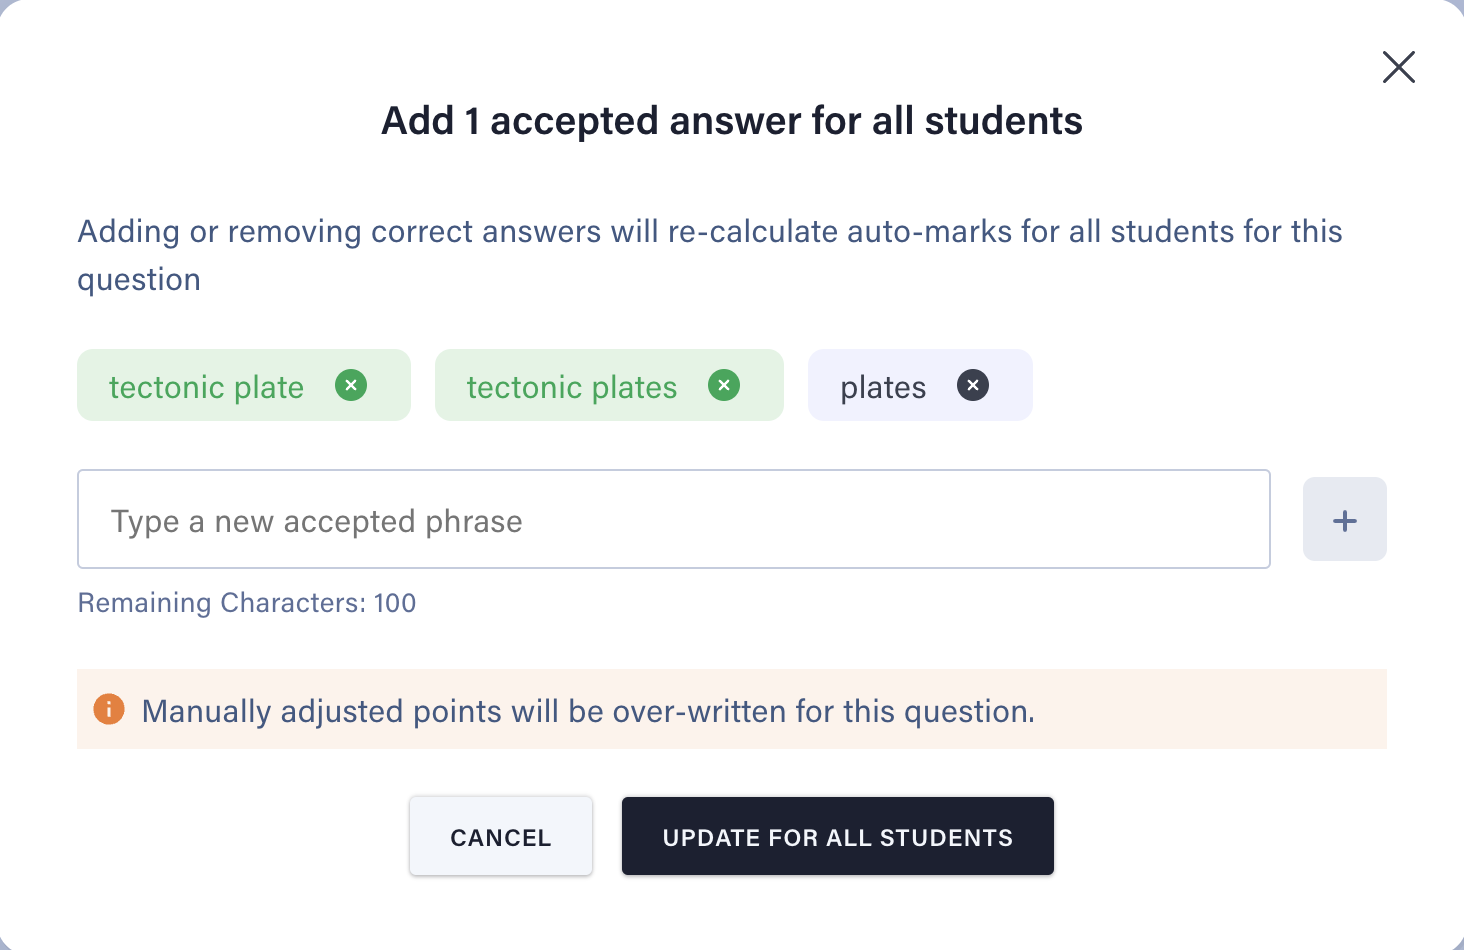
NOTE: For Fill-in-the-blanks and Short-answer questions, teachers can add or remove accepted responses directly during grading. To add an acceptable answer, click the edit button next to a response, select Add as accepted answer, and confirm. Similarly, to remove an accepted answer, follow the same steps to edit.
Any addition or removal of accepted answers will update the scoring criteria for all students. The auto-marks for the question will be recalculated across all submissions, reflecting the new criteria.
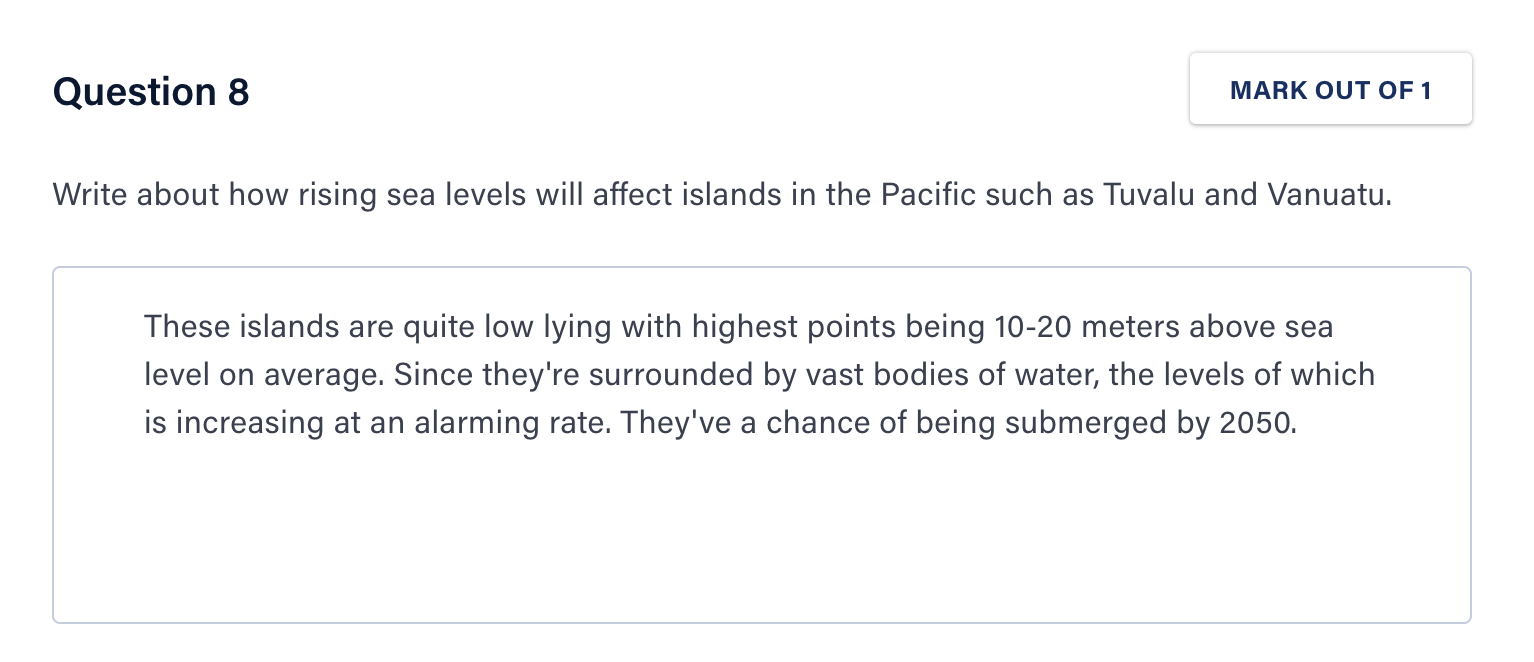
Adding detailed feedback for Extended Response answers using Cadmus Marker
- In the Feedback section, the student's name is displayed at the top. Use the navigation arrows or the Next Student button to switch between submissions. Click on the dropdown to search for specific students.
- The Marking and Feedback tabs are in the right panel. The Marking tab displays the marking criteria according to the rubric. Click the scale buttons to calculate marks based on the weighting % automatically. Custom marks can be added in the mark box.
- In the Feedback tab, comments can be added by selecting a portion of the work. Click on Add to save a comment. Click ••• on the comment box to link the comment to a specific criterion from the rubric, edit or delete the comment thread.
- Click ••• at the top right of the panel to find options to view or open the rubric in an expanded window. When you view the rubric while marking, you can click on the lock icon 🔒 next to the furthest criteria to unlock and update it. Note that updating a rubric after marking has begun would require re-marking the students who have already been graded. Click Proceed, then make edits to the rubric as needed.


When the expanded view rubric is open, the right-hand side rubric panel will not be available. Click on the Return Rubric to Side Panel button to continue grading from the right-hand side rubric panel.
