Fill in the blank questions let you create prompts where students complete a passage of text by filling in missing words or phrases. These questions are automatically graded based on the correct values you’ve added as accepted answers.
Creating a Fill in the Blanks question
There are two ways to add a fill in the blanks question.
In a blank assessment:
- Click Select question type.
- Select Fill in the blanks from the list.

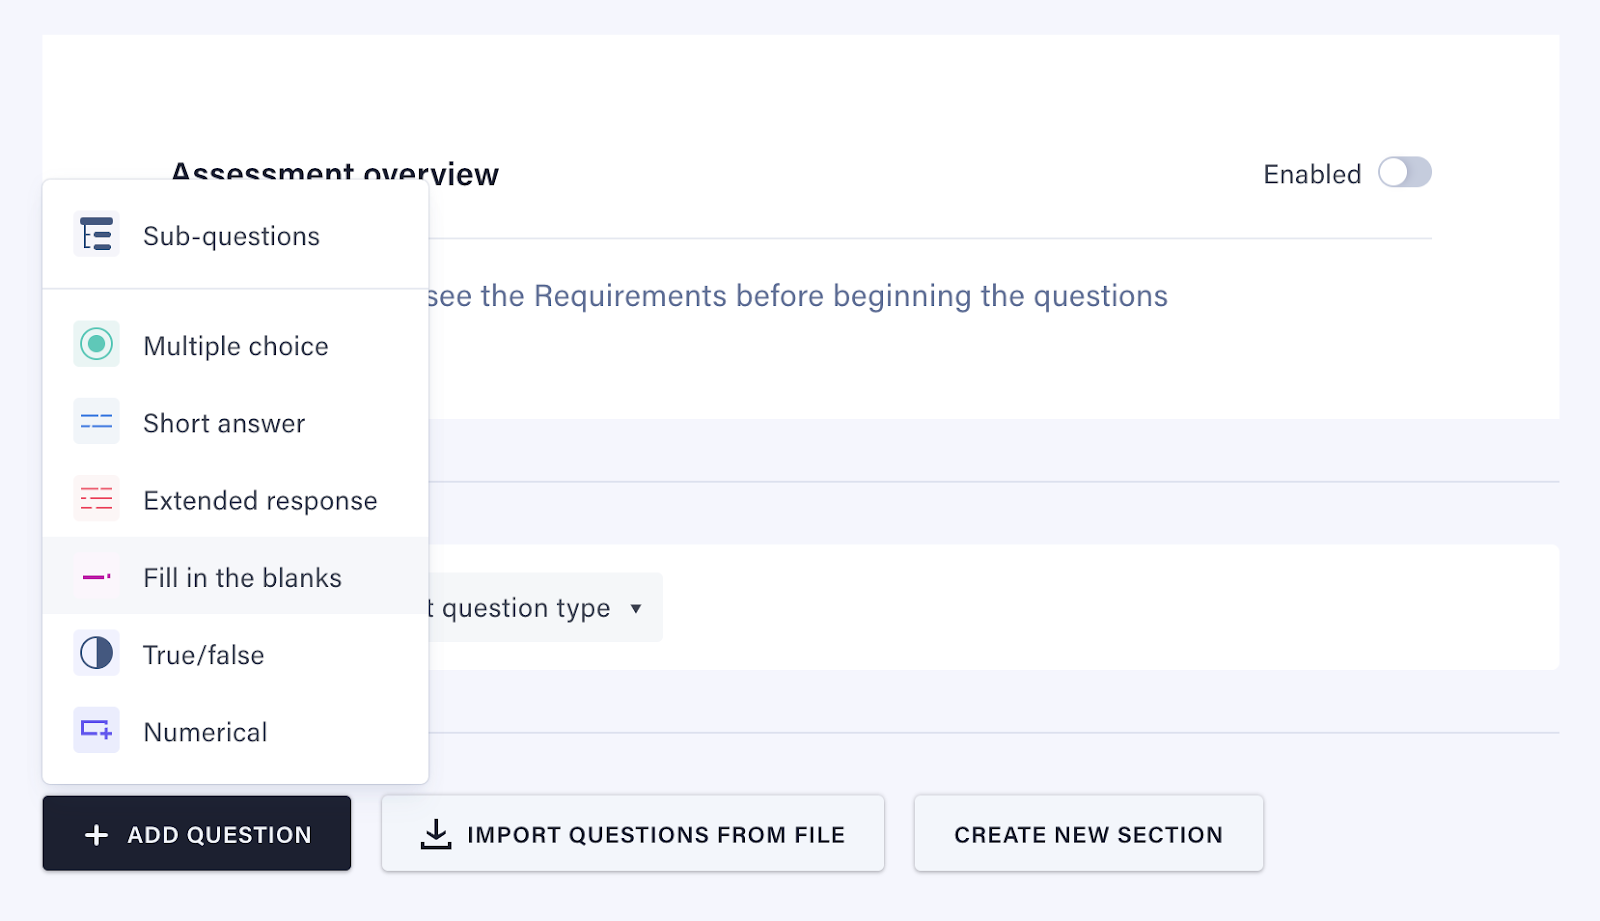
Adding a new fill in the blanks question:
- On the Action bar, click on Add Question.
- Select Fill in the blanks from the list.
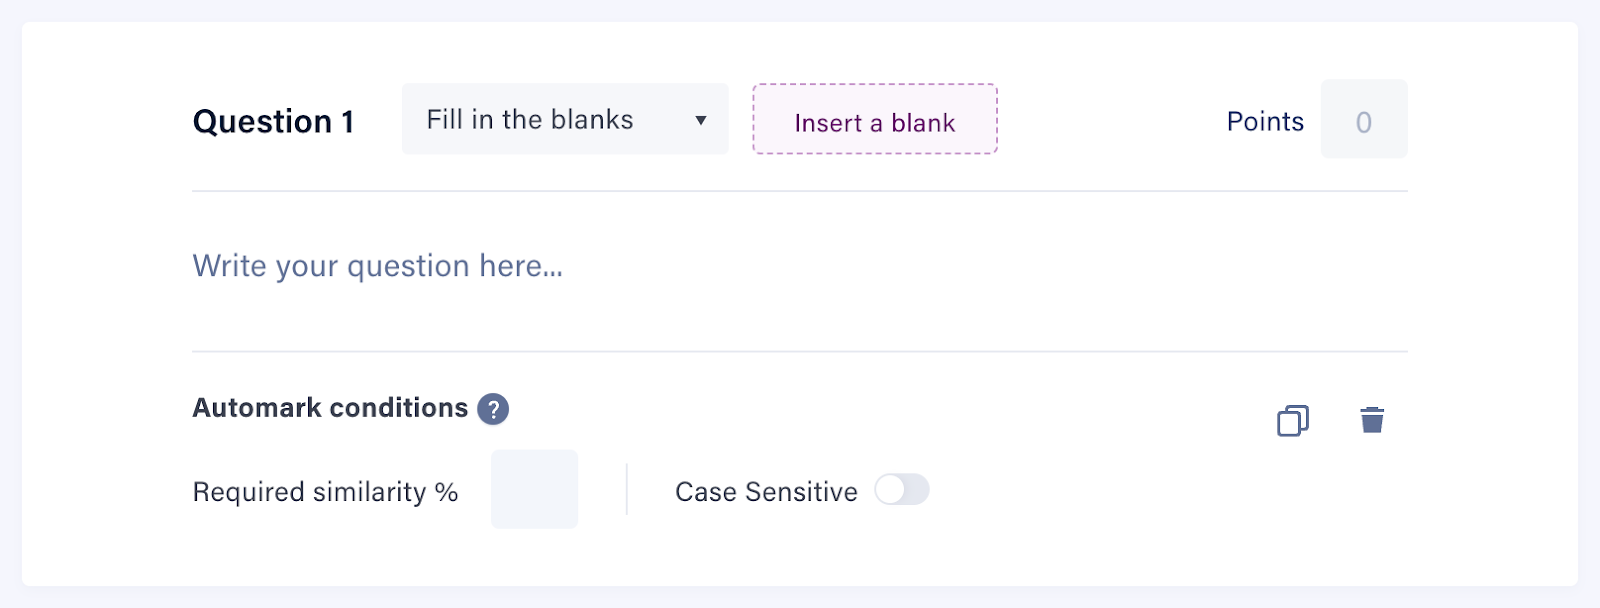
Once complete, you will see an empty fill in the blanks question block and can begin constructing your question.
Required fields
To set up your fill in the blank question, simply fill in the required fields. To set the required fields:
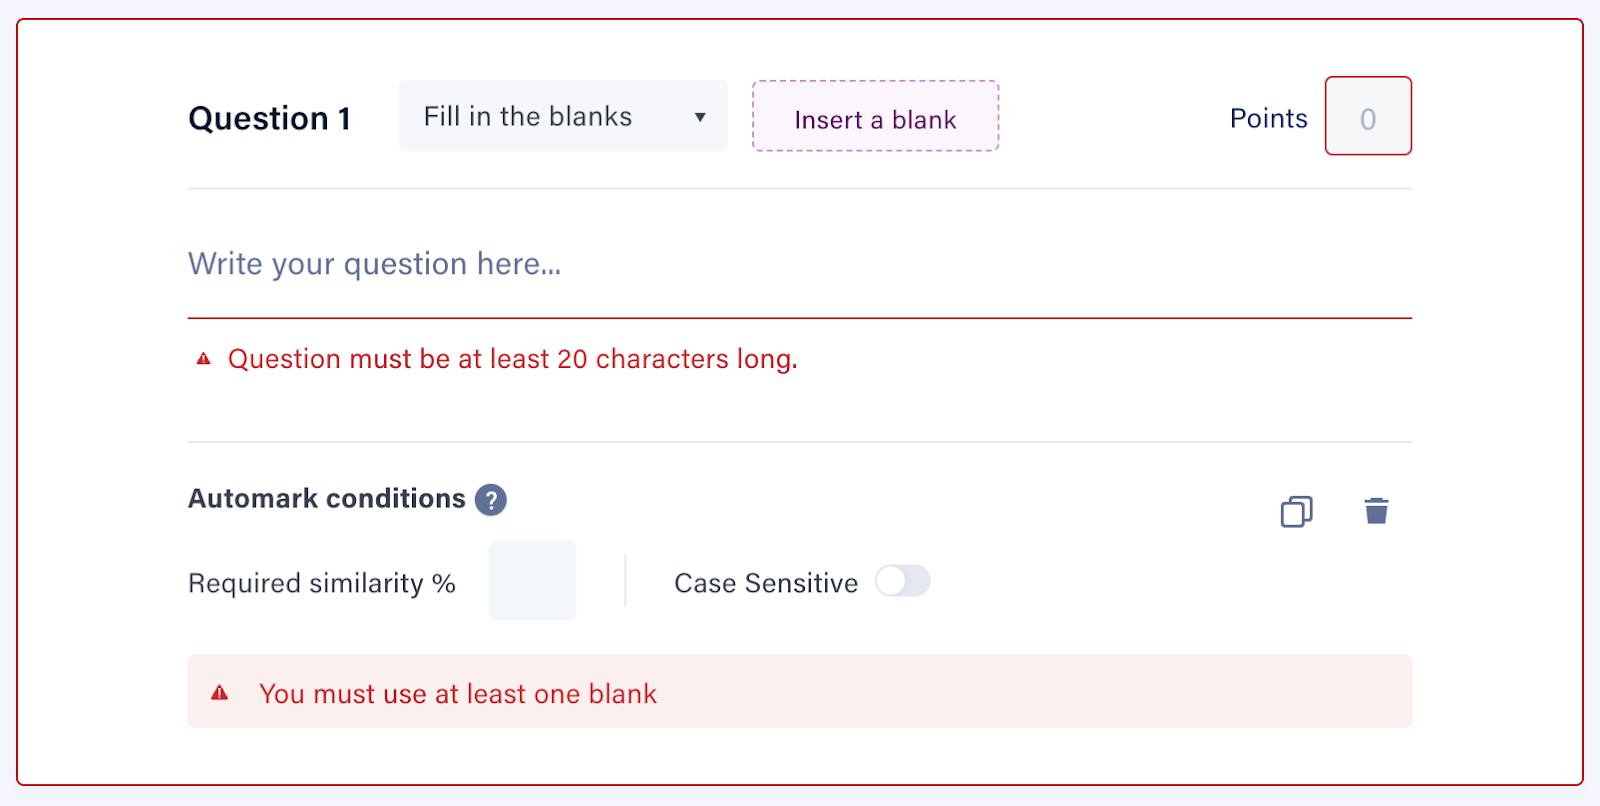
- Click on Write your question here and enter your question. Note that the question must be at least 20 characters in length.
- Click on Points to set the number of points allocated to the question. Note that this cannot be zero.
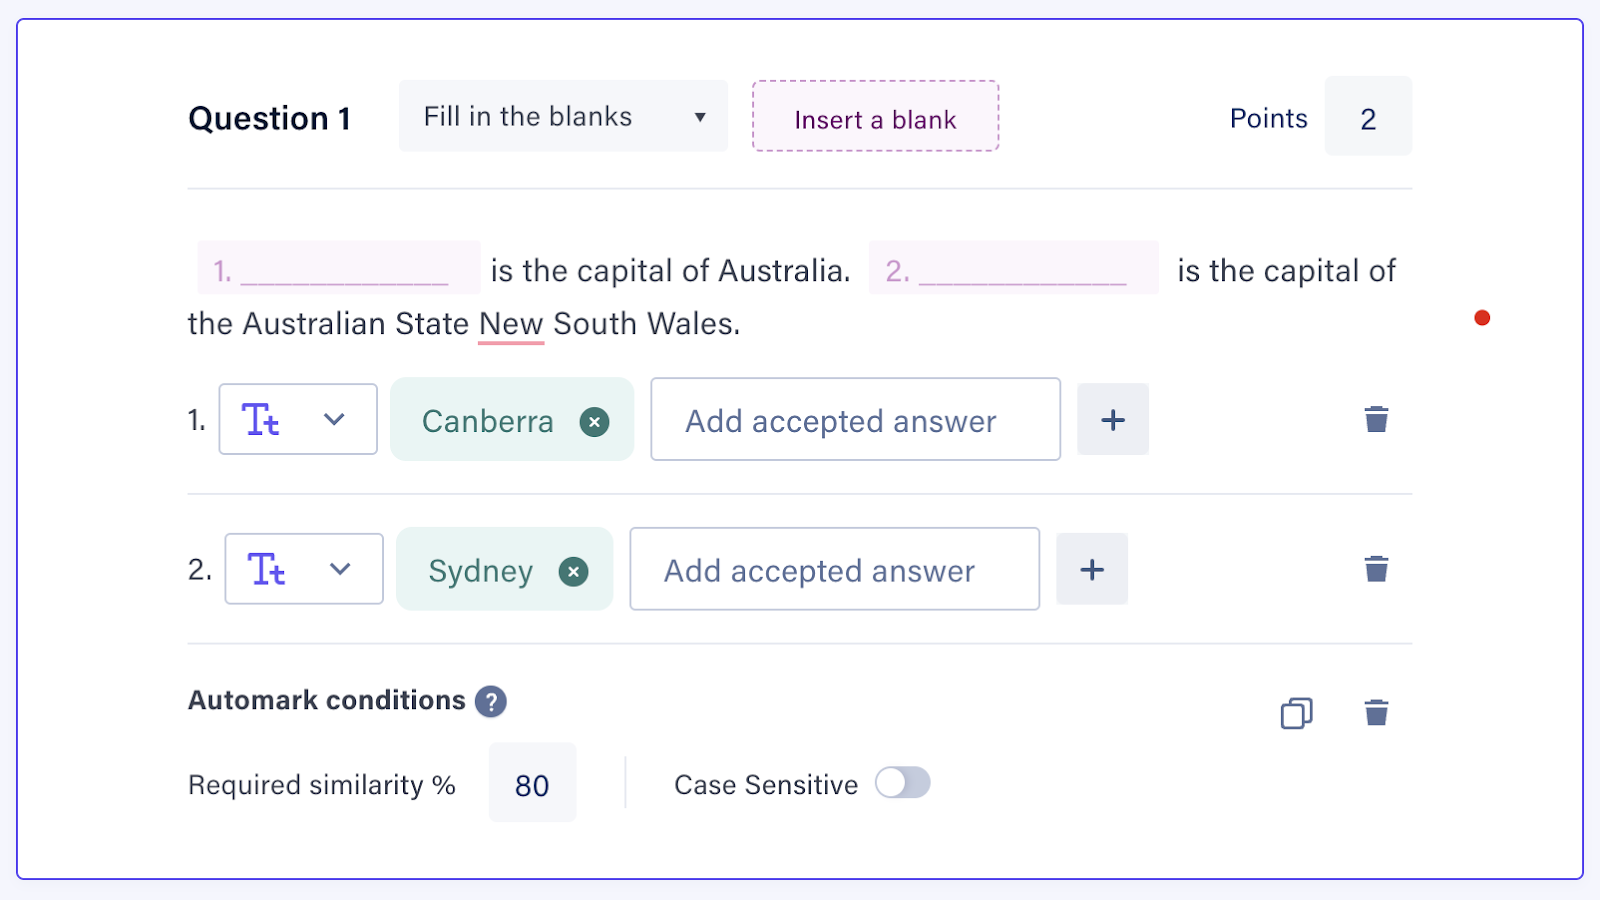
- Enter the Required similarity. For more information about the similarity percentage, please refer to the Similarity Score section in this article.
Similarity Score
A similarity score is calculated by Cadmus to match a student's response against accepted answers specified in the assessment.
Cadmus calculates a percentage of similarity that indicates the closeness of the student's response to the accepted answer.
Teachers can set a required similarity percentage for fill in the blanks and short answer questions. This is set to 80% by default.
When the required similarity is higher, student responses would need to be more exact matches against accepted answers. The minimum value for this is 50%, as anything lower is not close enough for a student response to be marked as correct.
All responses that match or exceed the required similarity are considered correct and auto-marked accordingly.
This matching is not case-sensitive and works effectively up to 50 characters.
Setting the question
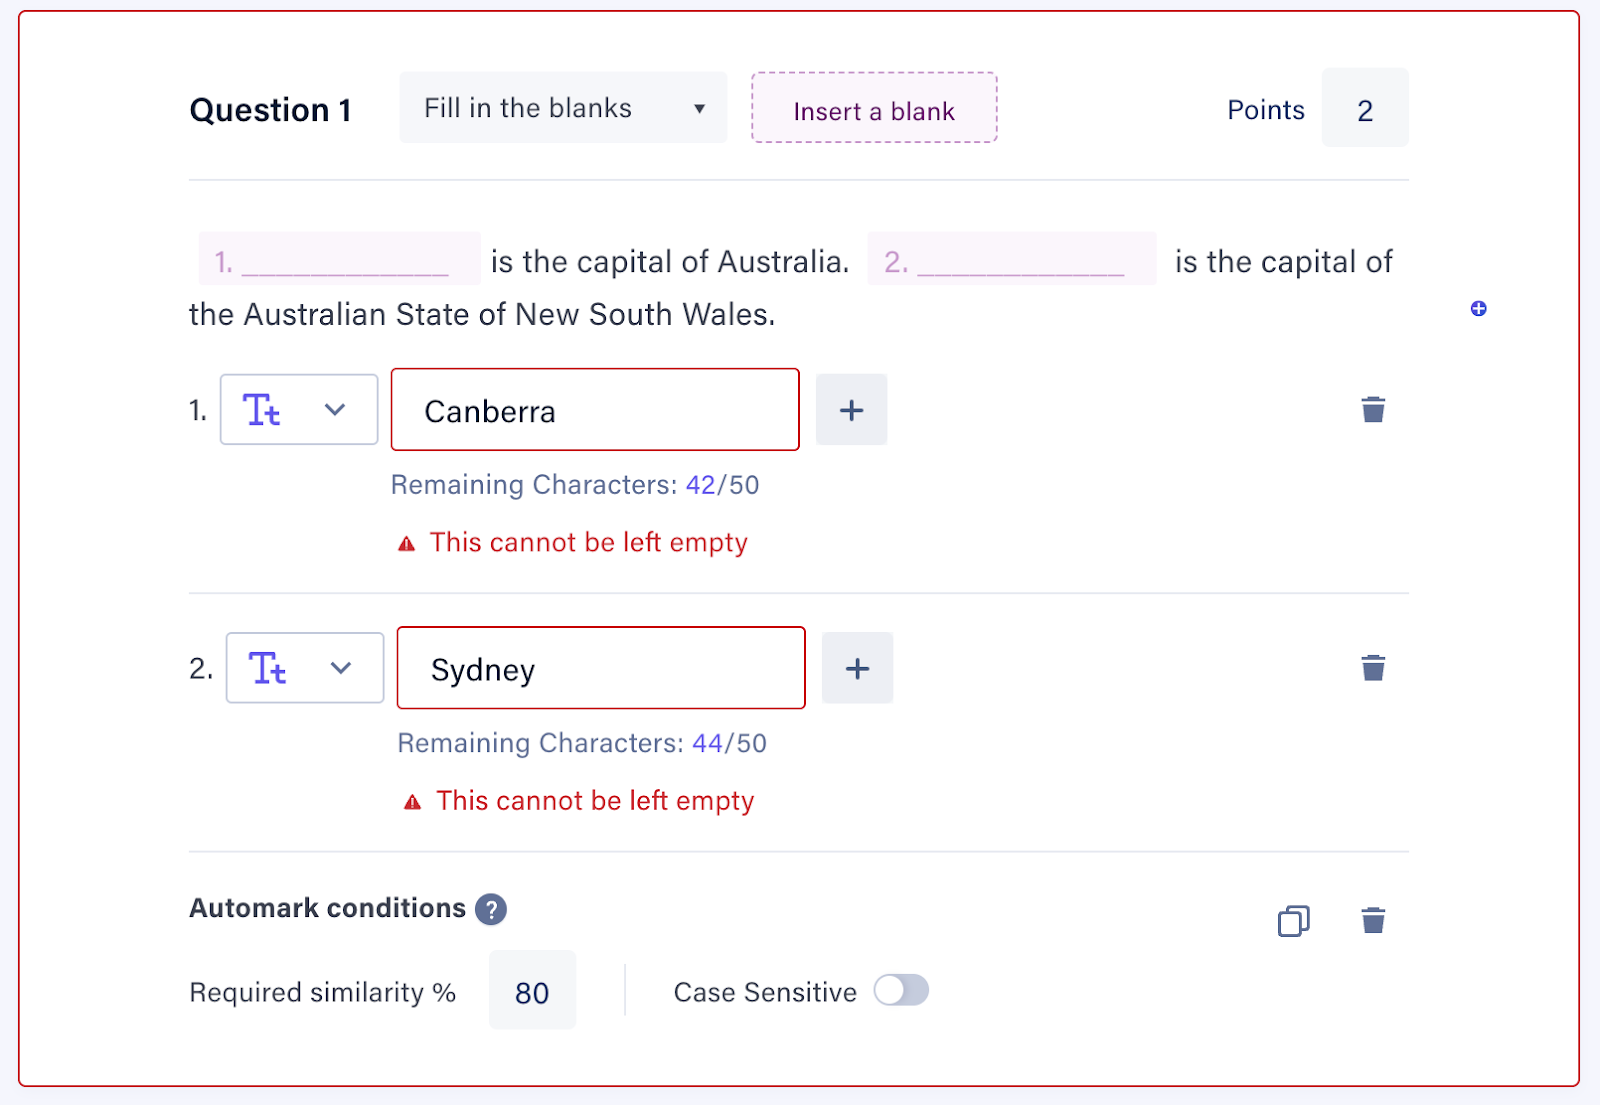
To add a blank within the question, click on Insert a blank. A numbered blank will appear, and each additional blank will increase the numbering. Matching input fields will be displayed below the question, allowing the correct answers for each blank to be entered easily.

Setting the accepted answer
Once the question and the required fields are set, the accepted answers to the fill in the blanks question must be set.
The accepted answer can be chosen either from a dropdown of multiple options or entered as an exact text answer. The dropdown option allows students to select the correct answer from a range of related or unrelated choices.
To set the accepted answer:
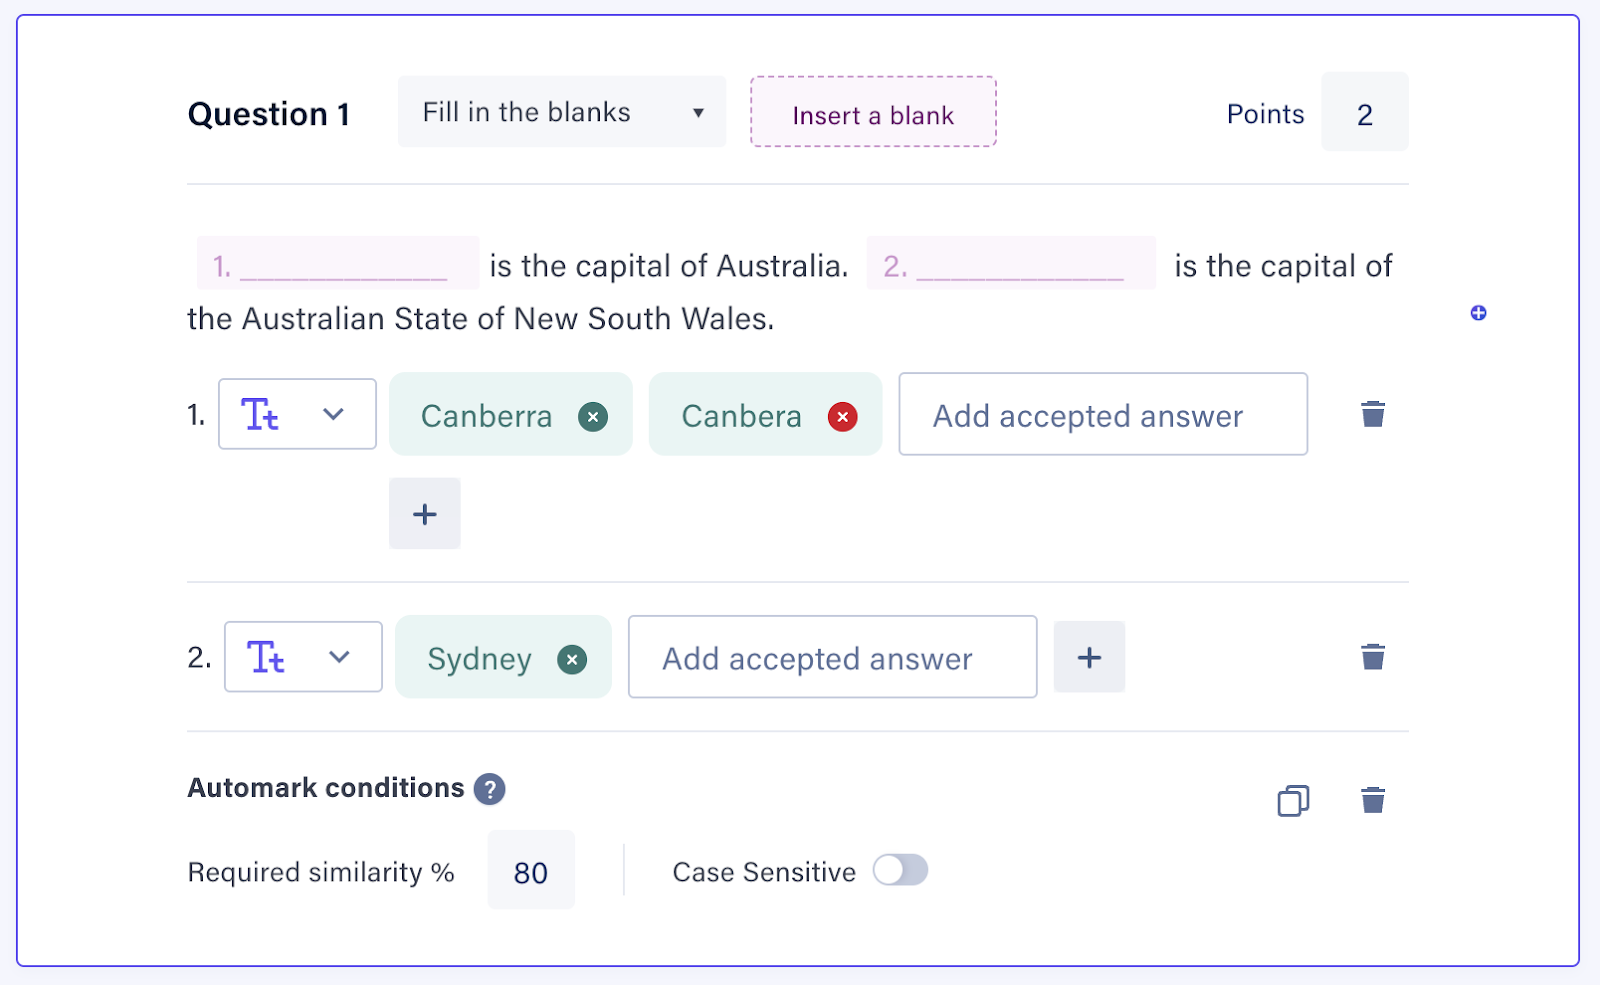
- Click on the input next to the number corresponding to the first blank word and type the accepted answer.
- Click the + button or press Enter to mark the option as an accepted answer.
- If an accepted answer is not set, you will see an error This cannot be left empty. Please note that each blank requires at least one accepted answer.
- To add another accepted answer, repeat Step 1.
- Repeat Steps 1 - 3 for each word in the fill in the blank.
Note that the accepted answer can only contain 50 characters.
For dropdown answers, multiple choices need to be added, and the correct answer can then be selected by clicking the checkbox beside the correct option. If a correct choice is not selected, you will see an error ‘Add correct answer’.
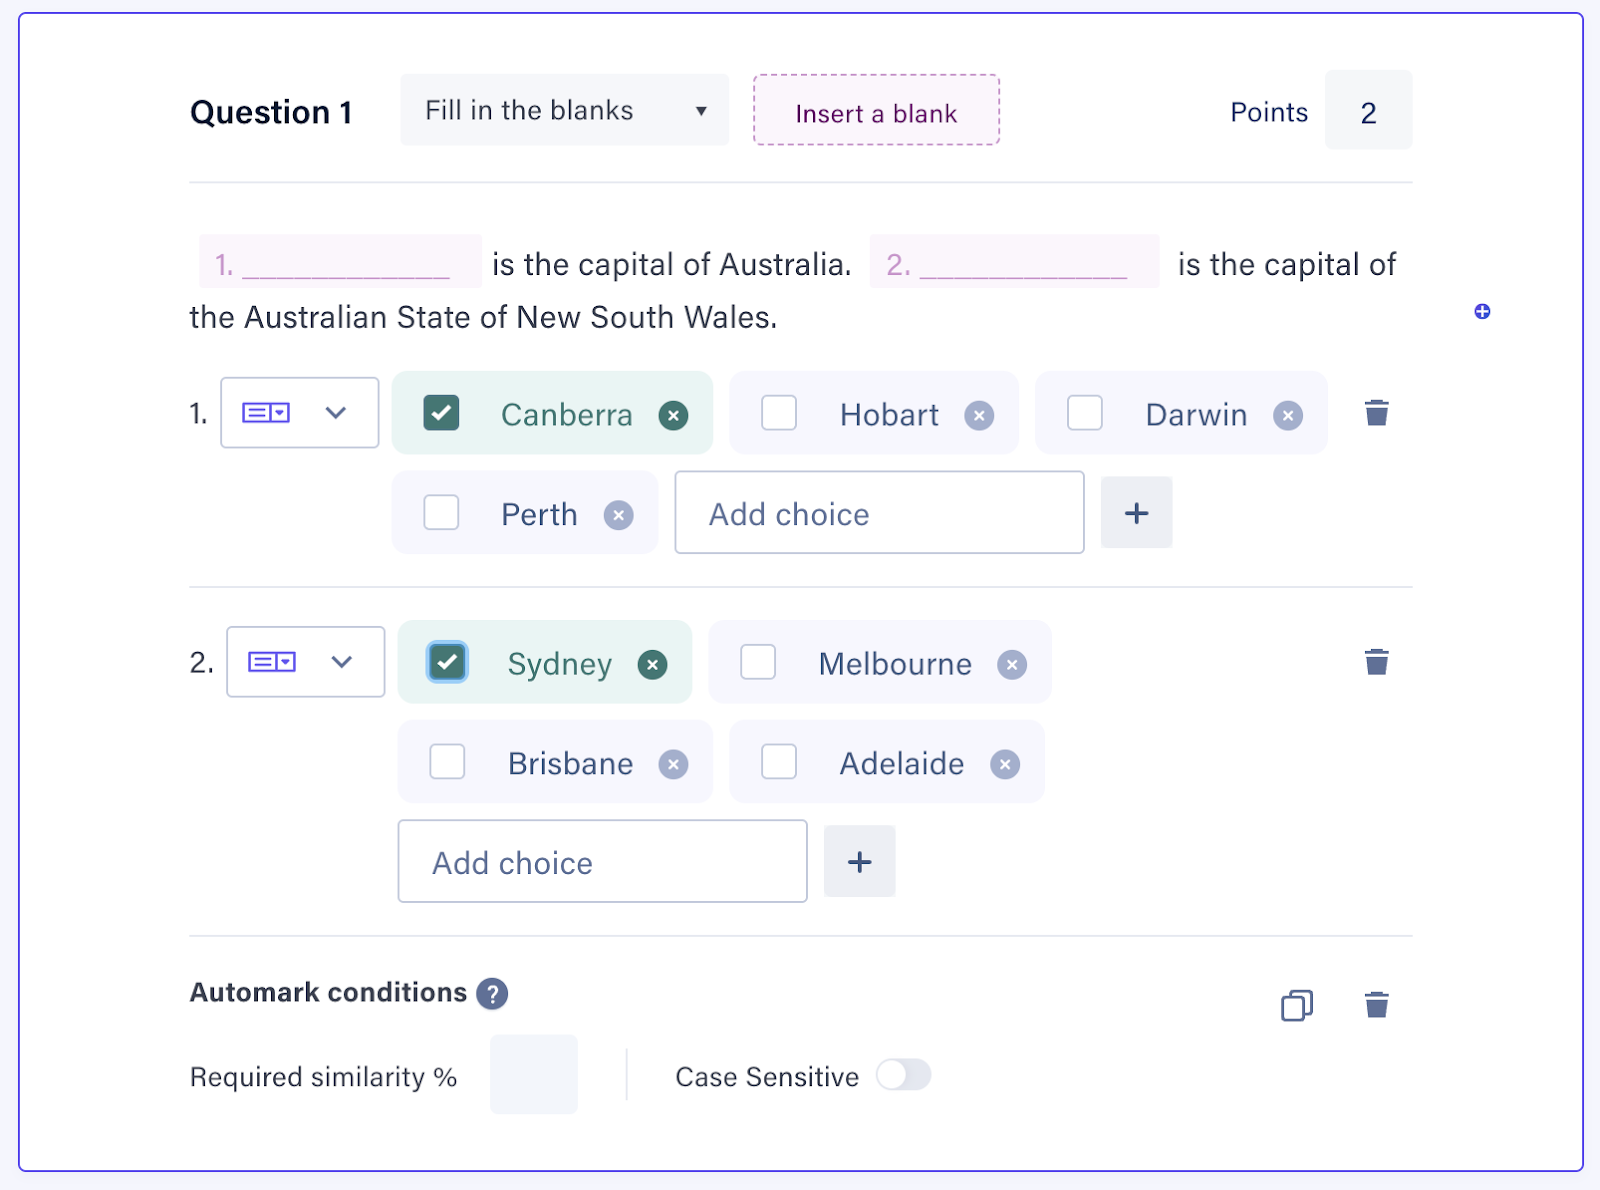
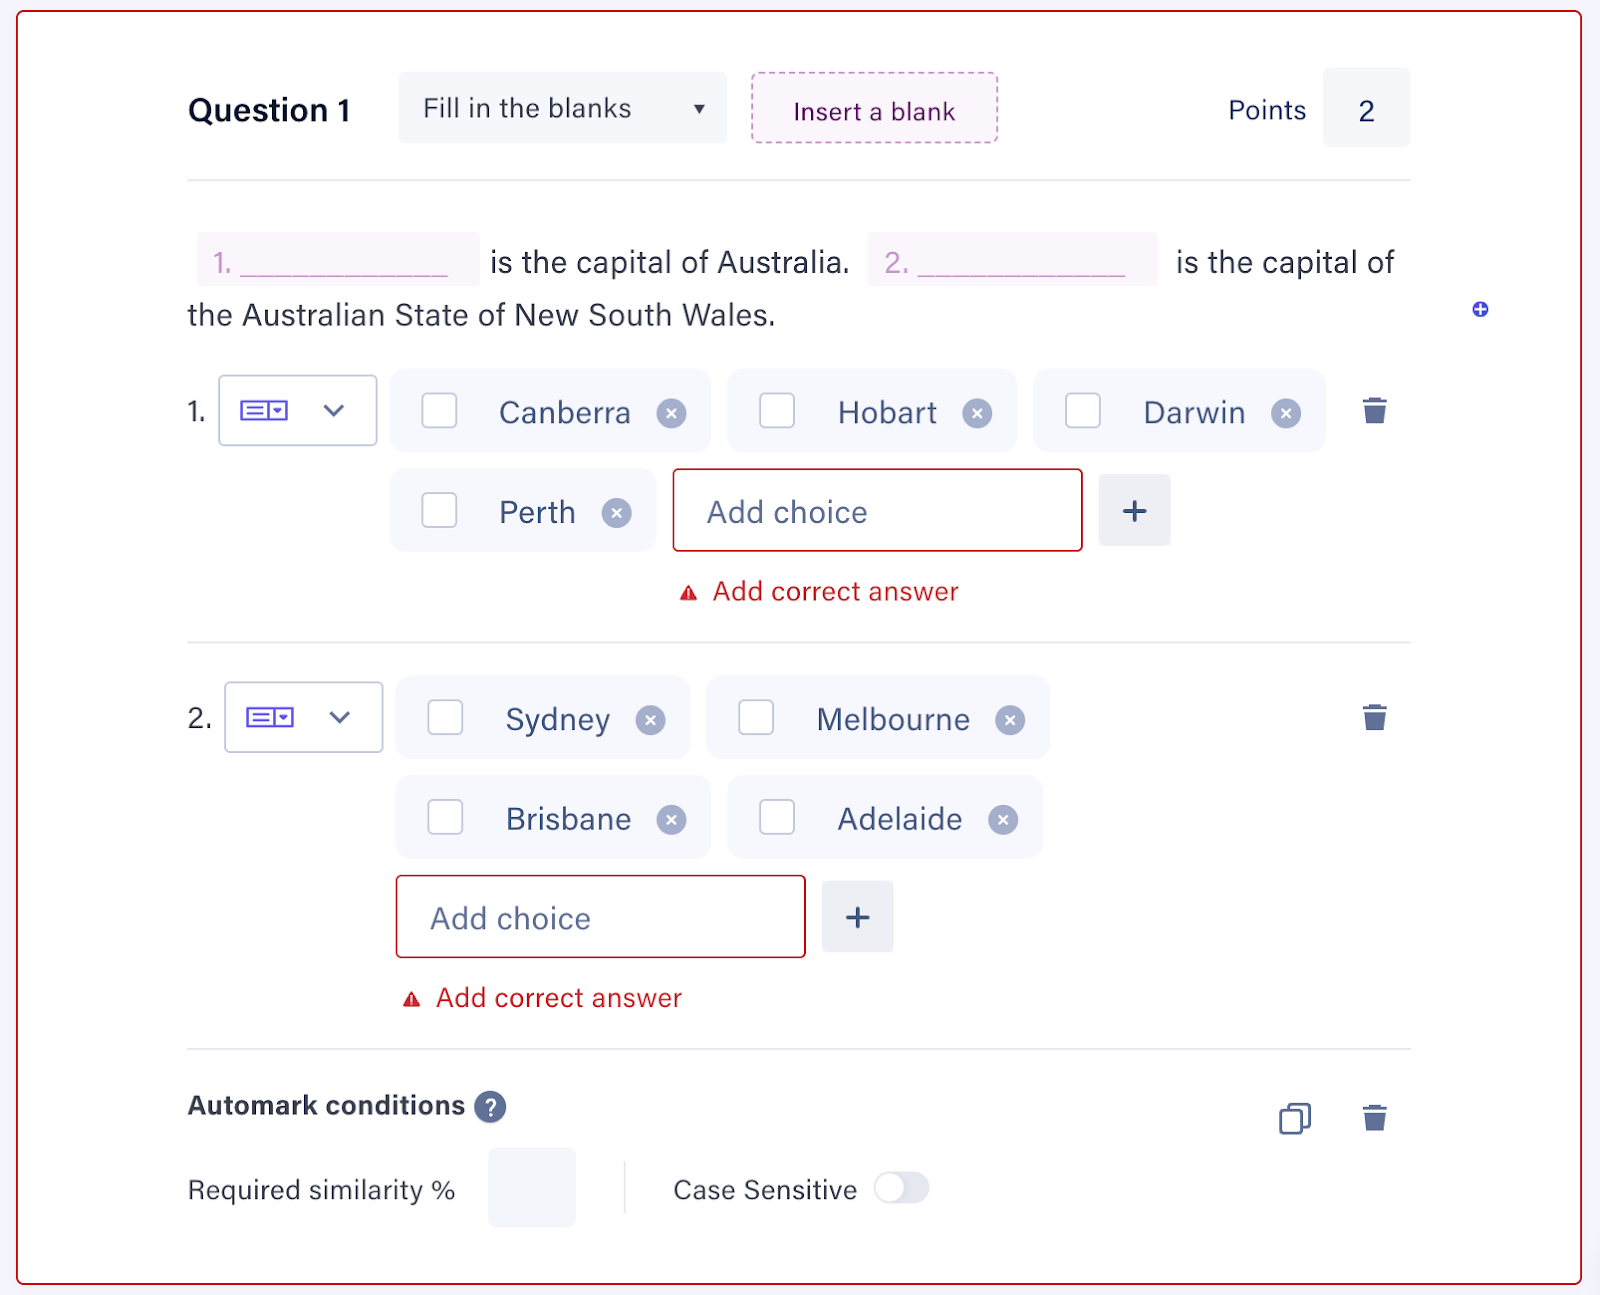
NOTE: For accepted answers in a dropdown, you can only select one correct answer from the choices. For text based accepted answers, you can add more than one correct answer.
Removing accepted answers
Once the question and answer options are created, an accepted answer can be removed from the set options if needed.
To remove an accepted answer:
- Hover over the ╳ next to the option, which will turn red.
- Click on the ╳ next to the option.
By clicking delete on a specific blank option, all accepted answers or answer choices (for dropdown answers) for that option will be removed.

Removing blanks from within the question
To remove a blank from within the body of the question, simply press backspace or delete in the content of the question.
Contextual Auto Marking
Open-ended student responses for Fill in the Blank type questions can be graded using AI-enabled contextual auto-marking with improved speed, accuracy, and consistency. To use contextual auto-marking:
1. Click the dropdown arrow next to the Auto-marking conditions. There will be two options available to match as per the marking style and assessment goals
2. If Require an exact Match option is selected, only those student responses that are an exact match (including the spelling) to the answer or one of the answer phrases will be interpreted as correct.
In this case, the student’s answer must match the correct answer provided, including spelling, punctuation, and phrasing. This condition is best suited for questions where precision is critical, such as definitions, terminology, formulas, or dates.
3. If Responses should be close enough option is selected, student responses close enough to the answer or one of the accepted phrases will be interpreted as correct.
In this case, the AI will accept answers similar in meaning to the correct answer, even if they're phrased differently. It uses natural language understanding to detect if the student has conveyed the same core idea. This is ideal for open-ended or conceptual responses.
NOTE: Auto-marking conditions will not be visible for dropdown type fill in the blanks questions.
NOTE: Case sensitivity can be switched on only for Require an exact Match option. This option will be blocked out for Responses should be close enough option.

TIP: 1. If in doubt, choose the " Response should be close enough option for conceptual learning and the " Require an exact match option for memorisation or definitions. You can always review and adjust AI-generated marks before finalising.